Introduction
First, it is important to know why you don't want oil in your intake.
If you have a naturally aspirated car, with no modifications, it probably won't matter much other than your intake plenum being dirty. But if you have a high performance engine or force induction, the oil fumes will cause detonations. So that is why people put in oil tanks, and that is why it is in your interest to have one. I am going to be using a modified valve cover to demonstrate. Later on I will show how you how to modify it too.
Removal of valve cover
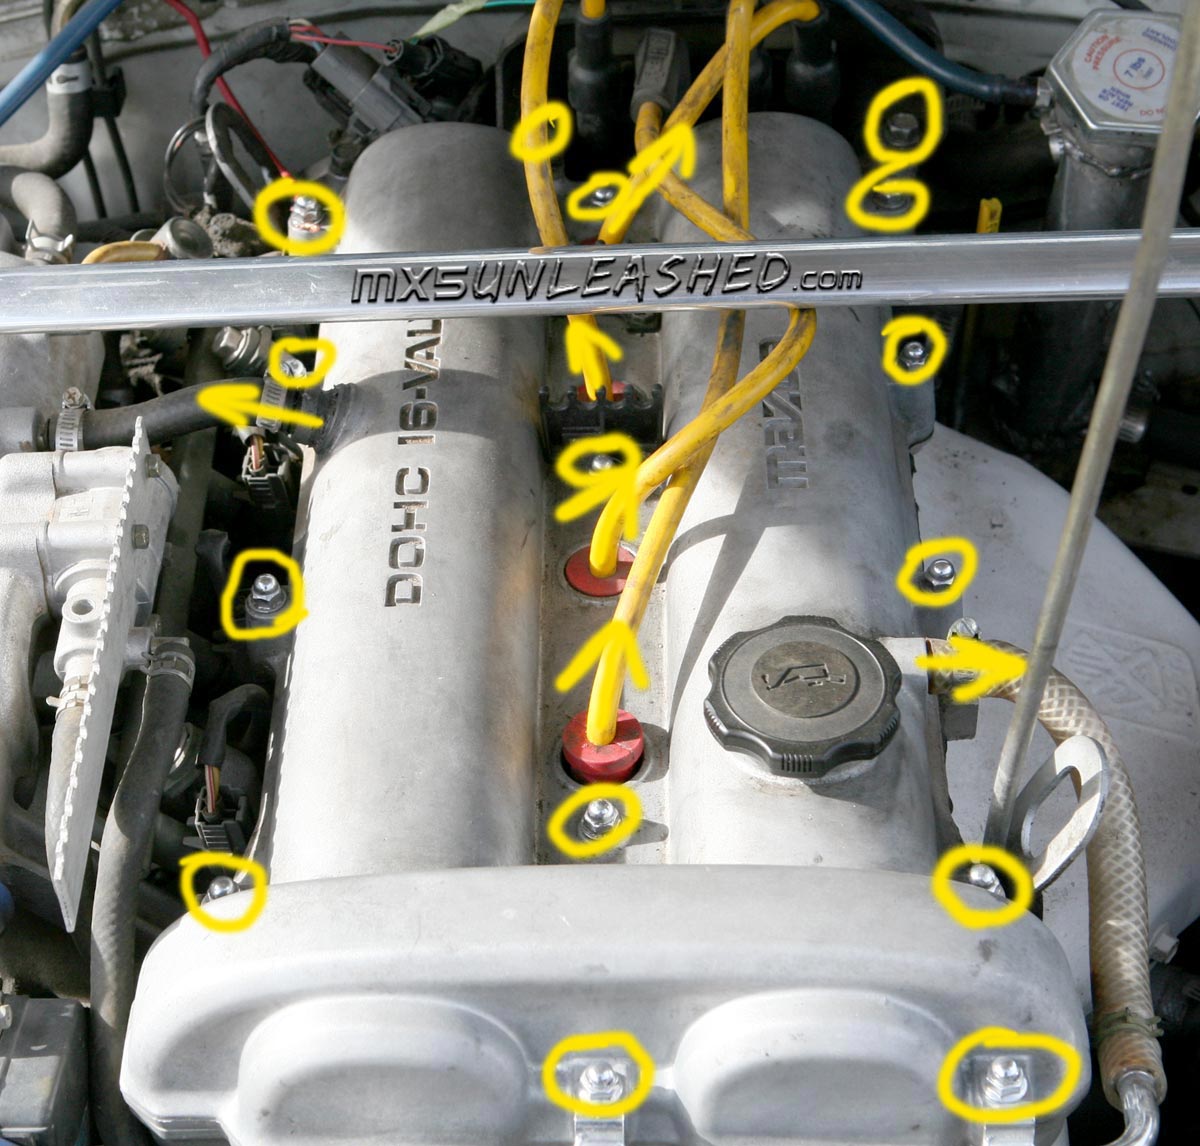
To remove the valve cover, remove the 13 small screws and 2 bigger screws that hold the ignition coils, if that is not enough there is one more bolt holding the coils under the coils.
Then pull out the two hoses, and then the spark-plug wires, it is good to tape little numbers on the wires and so you know where to put them back.
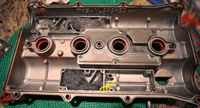
Then pull it off. |
|
Click to enlarge |
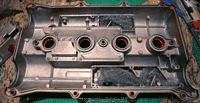
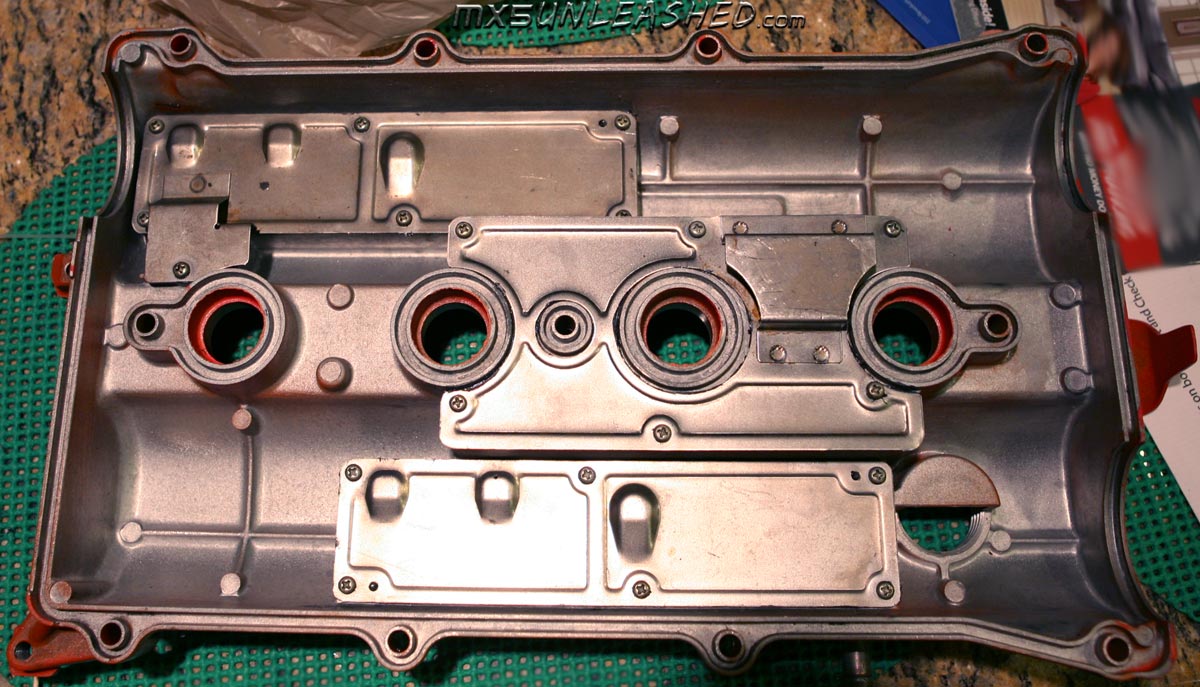
Inside of Valve Cover
Inside of the MX-5 valve cover there are 3 compartments that are used to separate oil from air. The one that goes to the intake plenum is the shorter one, the inlet is towards the back of the cover runs through few bevels and then to the intake plenum. This is insufficient to filter all the oil out and that is why you often find inside of the plenum covered in film of burn oil.
The other one is much longer and the oil inside has no way of escaping back. The idea was that it will return using suction when the engine is cooling and the air inside contracts and sucks the oil back in. That would work great if the world was perfect and there was no air leaks, but they happen so the oil will collect and then get sucked in, and we will get back to the solution. The gasses enter in the middle and goes through the wall to the second compartment around the bevels then to the third compartment and out to the hose and to the intake duct.
|
|
|
 |
Yellow-Inlets
Red-Hot Gases
Blue-Cooler Gasses
|
The Fix
|
|
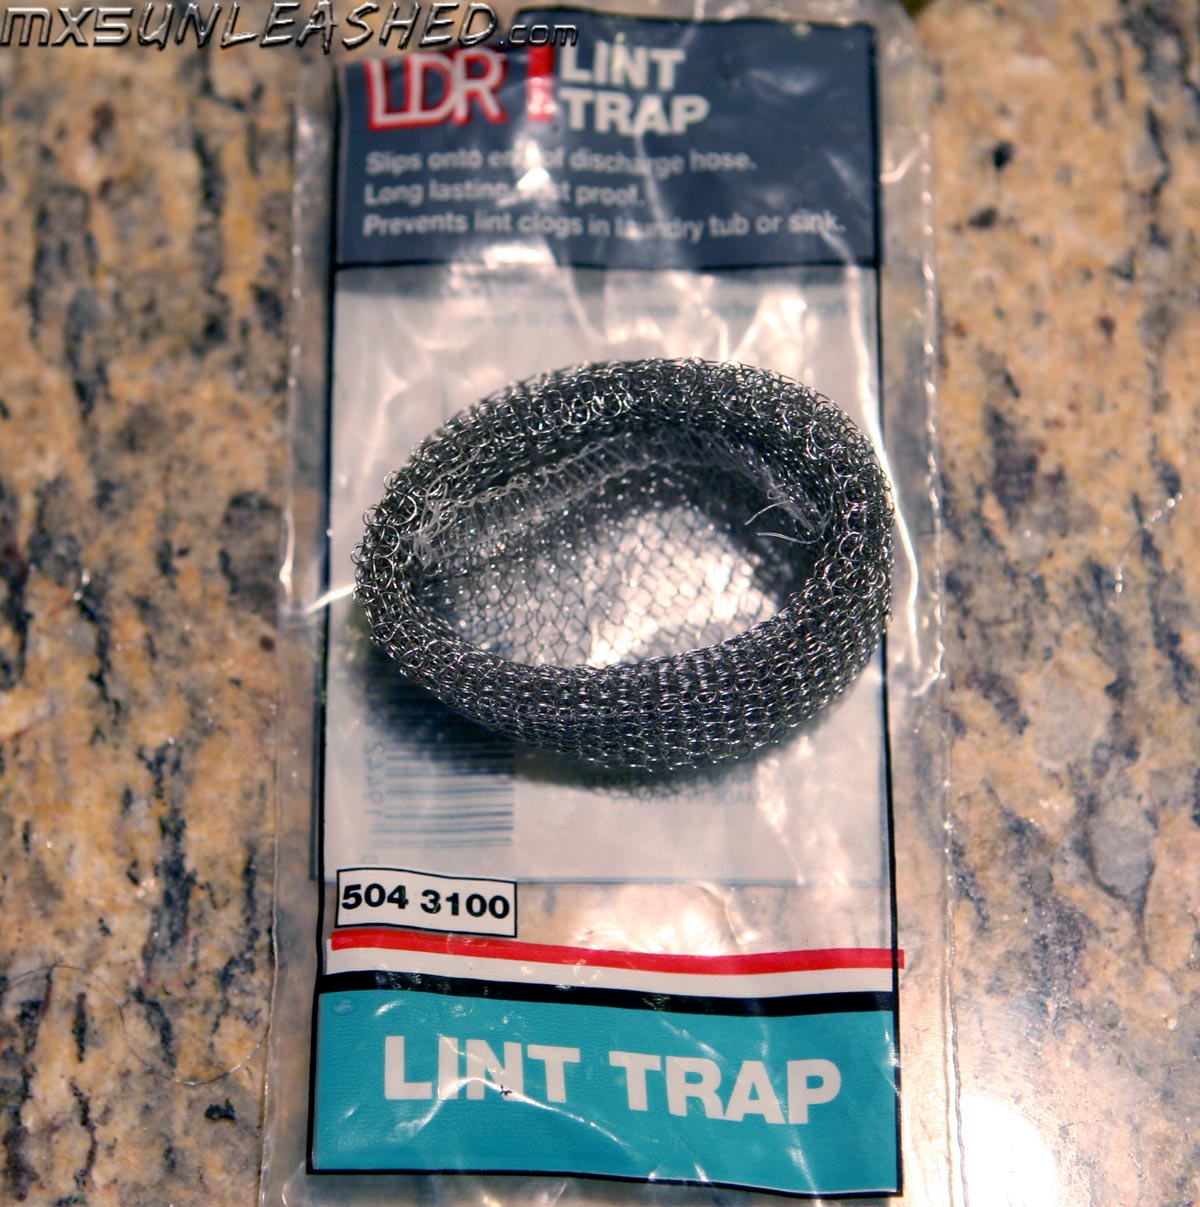
First, unscrew and remove at least the two long covers, you can remove the middle one if you want to clean up but it is not necessary for our upgrade. Then pry the covers without bending them but watch out the silicon is pretty strong on them. Then clean up. Then get yourself a metal lint trap and thick steel wool, I think #1 is the thickest. You can get those in any hardware store. |
|

|
Click the image to enlarge
|
|
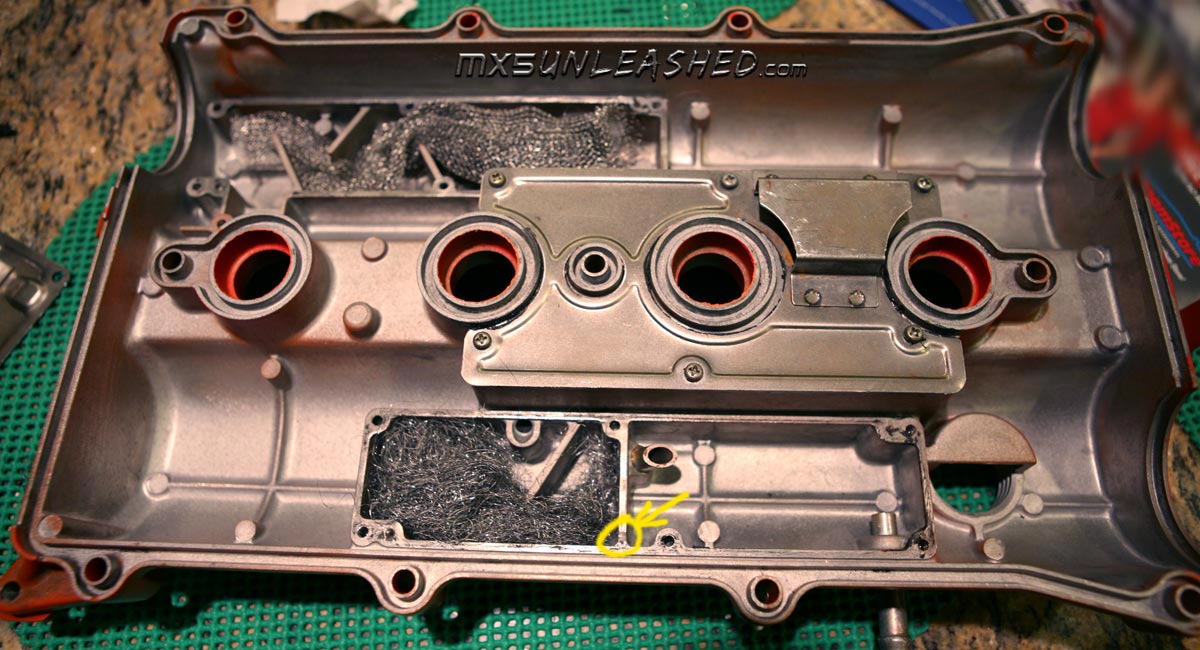
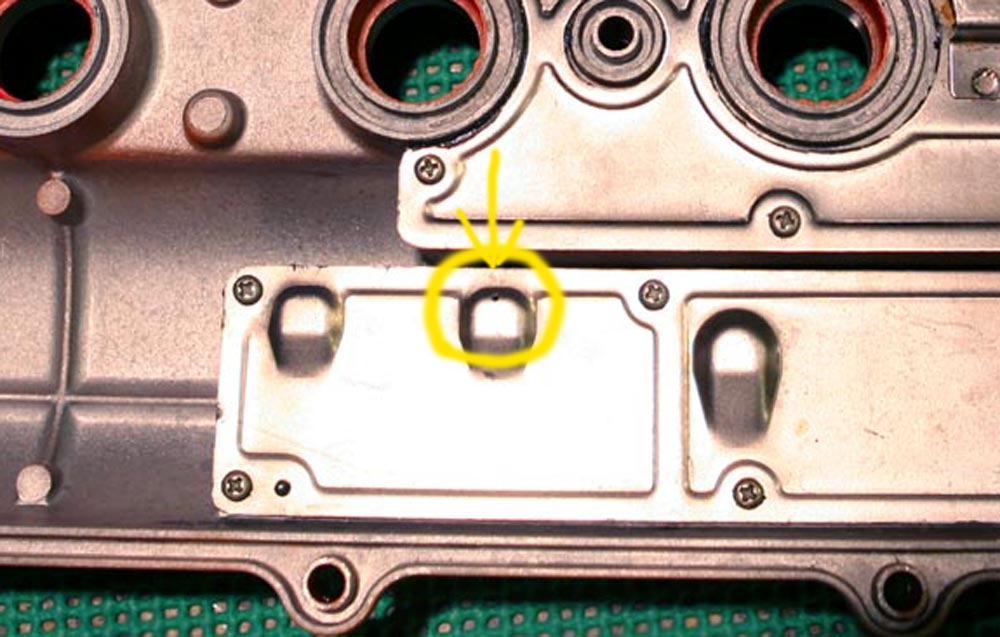
In the long runner, first you have to file a little groove in the wall between compartment 2 and 3. The groove size is about 1/16 of the inch and it will let the condensed oil to get back in to the engine. Then stuff the 2nd compartment with steel wool, make sure none is sticking out. Next drill a small hole in the cover in exactly same place as shown on the picture. This will allow the oil to drip back. Then apply silicon on all outside edges but NOT on the divider, so the oil can go back from the compartment 3. Then put it all back together.
For the short runner which is all open and it does not have separate compartments you place the steel wool in side of lint trap. As shown on pictures. The lint trap makes sure the the steel wool does not fall into the engine compartment plus it filters even more fumes. Then silicon the edges and put it all back together and you're good to go. This should take care of most of the oil problem.
Enjoy and please send me some feed back if you have any comment or improvements. |
|
Click the image to enlarge
|
|